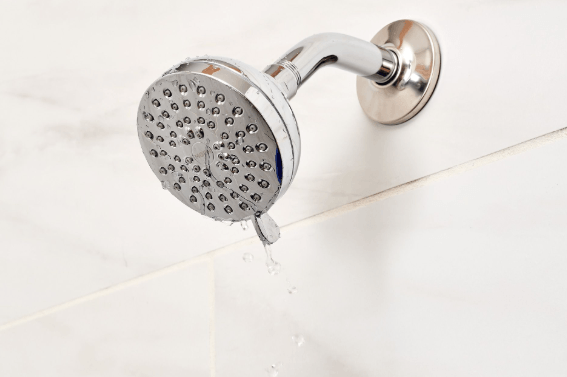
Identifying a dripping shower starts with watching where the water pools: is the drip from the faucet, the handle, or the shower head? The reader will learn to shut off the supply and gather a basic kit. A methodical approach follows: assess the leak source, choose the correct replacement parts, and work through the steps with careful torque and checks. The process promises clarity, but the next steps reveal whether simple seals suffice or a deeper repair is needed.
Identify the Drip: Common Shower Leaks and Causes
Common shower leaks originate from a few well-known sources, and identifying them involves a simple checklist. The discussion remains practical and precise: drip patterns indicate gasket wear, cartridge faults, or valve packing. Leak diagnosis relies on careful observation of seepage and pressure. Use correct seal terminology to describe components, enabling accurate diagnosis and targeted repairs without unnecessary speculation or excess tooling.
Tools, Parts, and Safety Basics to Have On Hand
A well-prepared repair kit begins with a concise list of tools, parts, and safety basics that match the identified leak type and faucet model. Essential items include pliers, adjustable wrench, replacement seals, two wrenches for torque balance, thread sealant, and a flashlight. Emphasize drip inspection, proper wrench selection, and personal protective gear for safe, efficient troubleshooting.
Step-by-Step Fix for the Most Common Drips
When a shower drips, the most common culprit is a worn cartridge or O-ring, and addressing it requires a methodical sequence: identify the faucet type, gather the correct replacement seals, disable the water supply, and carefully disassemble to expose the faulty component.
Identifying seals guides the swap; testing pressure confirms a seal, then reassemble with measured, precise steps.
See also: The Ethics of Always-On Technology
Troubleshooting, When to Call a Pro, and Maintenance Tips
Troubleshooting a dripping shower requires a systematic approach to determine whether the issue stems from worn components, improper installation, or water pressure anomalies. If uncertainty remains after basic checks, a pro should be consulted to avoid further damage.
When addressing fixes, maintain a drip diagnosis mindset and uphold a maintenance mindset to prevent recurrence and extend fixture life.
Conclusion
To fix a dripping shower, follow methodical steps: identify the leak source, shut off the water, and disassemble to access the faulty seal. Replace worn cartridges, O-rings, or valve packing with the correct parts, then reassemble using proper torque. Reconnect water supply, test for leaks, and adjust seals as needed. Maintain the fixture with periodic checks and lubrication where appropriate. In short, the job is straightforward when approached with care and a steady hand—the proof is in the puddle, not the effort.